There's nothing quite like the taste of fresh, sun-ripened strawberries. Their vibrant red hue and burst of sweet-tart flavor are the quintessential essence of spring and summer. However, as delightful as they are, fresh strawberries come with a notorious downside: their incredibly short shelf life. Left in the refrigerator, these delicate berries typically start to wrinkle, soften, or even show signs of mold within just three to four days. If you've ever found yourself with an abundance of beautiful berries, perhaps from a triumphant trip to the farmers' market, a pick-your-own farm, or even a grocery store sale, you know the race against time to enjoy them before they spoil is real.
The solution? Freezing. By preserving your strawberries at their peak ripeness, you can extend their enjoyment far beyond their natural season, allowing you to savor that taste of summer for months to come. Specifically, learning how to freeze strawberries effectively can keep them fresh and flavorful in your freezer for up to six months, giving you a ready supply for smoothies, desserts, and more. But don't just toss them into a bag and hope for the best; that shortcut often leads to a disappointing, icy, and clumped-together mess. The secret to success lies in a simple yet crucial technique: flash freezing.
Flash freezing ensures that each berry freezes individually, preventing them from sticking together in an unmanageable block. This method not only locks in their peak season taste and vibrant color but also dramatically reduces the formation of ice crystals, which can turn your luscious berries into mushy, flavorless ice chunks upon thawing. By following a few simple steps, you can easily preserve your berry bounty and enjoy the taste of summer any time of year.
Essential Tools for Freezing Strawberries
Before you embark on your berry-preserving journey, gathering the right tools will make the process smooth and efficient. You likely have most of these items already in your kitchen:
- Colander: For gently washing your delicate berries without damaging them.
- Clean Tea Towels or Paper Towels: Essential for thoroughly drying the strawberries, which is a critical step for preventing ice crystals.
- Paring Knife or Strawberry Huller: To efficiently remove the green tops and tough white cores. A huller makes quick work of this task, but a small paring knife is just as effective.
- Large Baking Sheet(s): You'll need enough surface area to spread your berries in a single layer.
- Parchment Paper or Silicone Baking Mat: To line your baking sheets. This prevents the berries from sticking to the tray during the initial freezing stage, making them easy to remove.
- Zip-Top Freezer Bags (Silicone or Plastic) or Airtight Containers: For long-term storage of your individually frozen berries. Freezer-specific bags are thicker and more resistant to freezer burn.
- Permanent Marker: For labeling your storage bags with the date and contents, ensuring you keep track of your frozen treasures.
Step-by-Step Guide: How to Freeze Strawberries Perfectly
This method focuses on preserving the seasonal flavors and maintaining the best possible texture for your strawberries. Follow these steps for an optimal freezing experience:
Step 1: Wash and Dry Your Fruit Thoroughly
This initial step is more critical than you might imagine. Place your fresh strawberries in a colander and rinse them under cool, gently running water. Avoid letting them soak, as this can make them waterlogged. As you wash, carefully inspect each berry. Discard any that are already soft, mushy, bruised, or showing even the slightest sign of mold. These compromised berries will not freeze well and could even affect the quality of the good ones.
Once rinsed, the most crucial part: drying. Gently spread the washed berries onto clean tea towels or several layers of paper towels. Using another towel, carefully pat each berry dry. Allow them to air dry for an additional 30 to 60 minutes, turning them occasionally. This extra drying time ensures that virtually all surface moisture is removed. Why is this so important? Any excess water on the berries will turn into ice crystals during freezing, which can lead to a mushy texture and diluted flavor when the strawberries are thawed. Ensuring your berries are as dry as possible is paramount for quality.
Step 2: Hull the Berries
With your berries clean and dry, it's time to remove the green leafy caps (hulls) and the small, tough white core beneath them. A dedicated strawberry huller is excellent for this task, designed to quickly and cleanly remove the hull with minimal fruit loss. If you don't have one, a small paring knife works perfectly. Simply insert the tip of the knife into the top of the strawberry, just beside the stem, and carefully cut around the stem in a circular motion, popping out the hull. Aim to remove only the green part and the pale core, preserving as much of the delicious red flesh as possible.
Step 3: Decide on Your Berry Size (Optional Slicing)
At this stage, you have an important decision to make: do you freeze your strawberries whole, or do you cut them? If you know you'll primarily be using them for smoothies, sauces, or baking where they'll be cooked down, slicing or quartering them now is highly recommended. Large, frozen whole berries can be incredibly difficult to cut and cumbersome for blenders to break down effectively. Slicing them into halves or quarters at this stage saves you effort later and allows for quicker thawing when needed for specific recipes.
Step 4: Prepare for Flash Freezing
This is the step that distinguishes perfectly frozen strawberries from an unmanageable icy block. Line one or more large baking sheets with parchment paper or a silicone baking mat. Arrange your hulled (and optionally sliced) strawberries on the prepared baking sheet(s) in a single layer. It's crucial that the berries do not touch each other. If they are in contact, they will freeze together, forming a large, difficult-to-separate mass. If you have a large batch of berries, use multiple baking sheets or freeze them in batches, ensuring each berry has its own space to freeze individually. For more insights into this technique, check out our guide on Flash Freeze Strawberries: Lock in Flavor, Avoid Icy Clumps.
Step 5: Freeze Until Solid
Carefully transfer the baking sheet(s) of strawberries to your freezer. Ensure they are placed on a flat, level surface where they won't be disturbed. The freezing time will vary depending on the size of your berries and the efficiency of your freezer, but typically this takes between two to four hours. For larger berries or bigger batches, it's often best to freeze them overnight to ensure they are completely solid. This step of freezing them individually on a tray before transferring them is known as flash freezing, and it is the key to perfectly separated berries.
Step 6: Transfer and Store for the Long Term
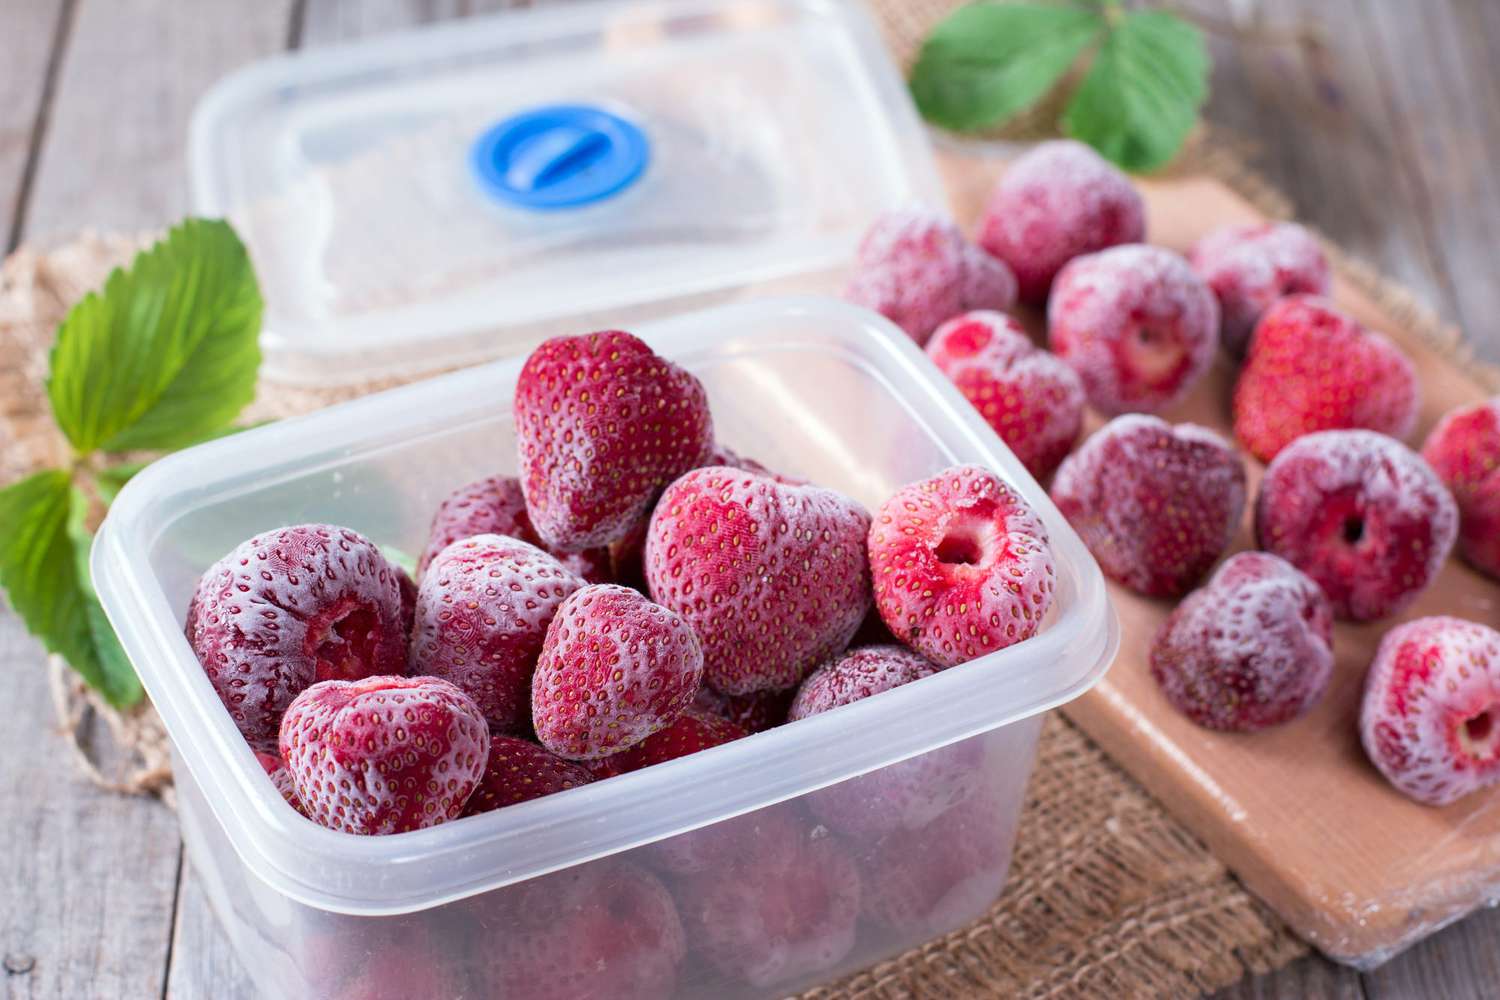
Once your strawberries are completely frozen solid and individual (they should make a rattling sound if you gently shake the tray), it's time for long-term storage. Promptly remove them from the baking sheet and transfer them into zip-top freezer bags or other airtight, freezer-safe containers. For bags, press out as much air as possible before sealing to prevent freezer burn. Excess air can lead to ice crystal buildup and diminished quality over time.
Don't forget to label each bag or container with the date of freezing. Properly stored, frozen strawberries will maintain their quality and flavor for up to 6 months. While they are safe to eat beyond this period, their quality may begin to degrade. For a more comprehensive look at the process, you might find our article The Best Way to Freeze Strawberries: A Step-by-Step Guide particularly helpful.
Creative Ways to Enjoy Your Frozen Strawberry Bounty
Now that you've mastered how to freeze strawberries, what wonderful creations can you make with them? The possibilities are nearly endless!
- Smoothies and Shakes: This is arguably the most popular use. Frozen strawberries add a delightful chill and creamy texture to any blend without the need for ice.
- Baked Goods: Incorporate them into muffins, scones, pies, tarts, or crumbles. If using them in baked goods, you may want to toss them with a little flour first to prevent them from sinking to the bottom, and don't thaw them completely before adding.
- Sauces and Coulis: Simmer frozen strawberries with a touch of sugar and lemon juice to create a vibrant sauce perfect for pancakes, waffles, cheesecake, or ice cream.
- Jams and Preserves: While you're preserving, why not make jam? Frozen strawberries are excellent for making homemade strawberry jam or compote.
- Desserts: Blend them into sorbets, no-churn ice cream, or a quick granita. You can also use them to make a refreshing strawberry mousse or a vibrant fruit fool.
- Beverages: Add a few frozen berries to water, lemonade, or iced tea for a flavorful and naturally cooling addition. They also make fantastic additions to homemade cocktails or mocktails.
- Yogurt Toppings: Thaw them slightly or chop them directly into your morning yogurt or oatmeal for a burst of fruit flavor.
Conclusion
Freezing strawberries is a rewarding process that allows you to capture the fleeting taste of summer and extend its enjoyment for half a year or more. By understanding the importance of proper washing, thorough drying, hulling, and most importantly, flash freezing, you can avoid common pitfalls like icy clumps and mushy textures. Following these detailed steps ensures that your frozen strawberries retain their vibrant color, firm texture, and delicious flavor, making them a versatile ingredient ready for any culinary adventure. So, next time you find yourself with an abundance of fresh, ripe strawberries, don't let them go to waste. Preserve your berry bounty, and enjoy the taste of sunshine whenever you please!
