The Best Way to Freeze Strawberries: A Step-by-Step Guide to Preserving Peak Freshness
There's nothing quite like the taste of a perfectly ripe, juicy strawberry. Whether you've just harvested a bounty from your garden, snagged a deal at the farmers' market, or stocked up at the supermarket, the joy of fresh strawberries is often fleeting. These delicate gems have a notoriously short shelf life, typically lasting only three to four days in the refrigerator before they start to wrinkle, soften, or worse, develop unsightly mold.
But what if you could capture that peak-season flavor and enjoy it months down the line? You can! Freezing strawberries is an incredibly effective way to preserve your berry bounty and prevent food waste. However, simply tossing them into a bag and throwing them in the freezer will lead to a disappointing, icy block of stuck-together berries. The secret to success lies in a technique called flash freezing. This method ensures your strawberries freeze individually, maintaining their texture, flavor, and making them far easier to use later on.
In this comprehensive guide, we'll walk you through the absolute best way to freeze strawberries, from preparation to long-term storage, ensuring you can savor the taste of summer any time of year.
Why Freezing Strawberries is a Game-Changer for Your Kitchen
Beyond simply extending their lifespan, freezing offers a multitude of benefits that make it an indispensable preservation method for strawberries:
- Locks in Peak Flavor: Freezing allows you to capture strawberries at their ripest and most flavorful. This means you can enjoy that sweet, summery taste even when fresh berries are out of season.
- Prevents Waste: No more watching your precious berries turn bad before you can use them all. Freezing is an excellent strategy to minimize food waste and make the most of your purchase or harvest.
- Cost-Effective: Stock up on strawberries when they're in season and often at their lowest price. Freezing them means you have a ready supply without paying off-season premiums.
- Convenience at Your Fingertips: Imagine grabbing a handful of pre-prepped, frozen strawberries for a morning smoothie without any washing or chopping. Flash-frozen berries are ready to use in countless recipes, saving you time and effort.
- Versatile for Various Uses: Frozen strawberries are perfect for smoothies, baked goods, sauces, jams, and desserts. Their versatility makes them a kitchen staple.
Essential Tools You'll Need for Freezing Strawberries
Before you embark on your freezing journey, gather these simple tools to ensure a smooth and efficient process:
- Colander: For thoroughly rinsing your berries.
- Tea Towels or Paper Towels: Absorbent towels are critical for drying the strawberries completely.
- Paring Knife or Strawberry Huller: To efficiently remove the green tops and white core.
- Large Baking Sheet(s): Essential for spreading out the berries in a single layer during flash freezing.
- Parchment Paper or Silicone Baking Mat: To line your baking sheets, preventing the berries from sticking and making removal easy.
- Airtight Freezer Bags or Containers: Zip-top plastic or reusable silicone bags are ideal. Consider vacuum-seal bags for ultimate freshness and freezer burn prevention.
- Permanent Marker: For labeling your frozen berry packages with the date.
The Best Way to Freeze Strawberries: A Step-by-Step Guide
Follow these meticulous steps to how to freeze strawberries perfectly, preserving their vibrant color, sweet taste, and firm texture for months.
Step 1: Wash and Thoroughly Dry Your Berries
The first step is crucial for both cleanliness and preventing ice crystals. Place your strawberries in a colander and rinse them gently under cold running water. Avoid soaking them, as this can make them waterlogged. As you wash, carefully inspect each berry. Discard any that are already mushy, bruised, or showing even the slightest signs of mold. These compromised berries will not freeze well and could affect the quality of the entire batch.
Once washed, the most critical part of this step is drying. Spread the clean berries onto one or two layers of clean tea towels or paper towels. Gently pat each berry dry with another towel. For best results, let them air dry for an additional 30 to 60 minutes. This step cannot be rushed or overlooked. Any excess moisture on the berries will turn into ice crystals during freezing, which can lead to a mushy texture and diluted flavor when thawed. The drier your strawberries are now, the better they will be later.
Step 2: Hull and Prepare (Whole, Sliced, or Quartered)
With your berries clean and dry, it's time to remove the green tops, a process known as hulling. If you have a strawberry huller, it's a quick and efficient tool for this task. Simply insert it around the stem and twist to pop out the hull. If not, a small paring knife works perfectly. Carefully insert the knife just beneath the stem, cutting in a circular motion to remove the green cap and any tough white core.
Now, decide how you want to prepare your berries for freezing. You have a few options:
- Whole: If you plan to use them in smoothies or for decorative purposes where appearance matters, freezing them whole is great.
- Halved or Quartered: This is often preferable if you know you'll be using them in smoothies, baking, or sauces. Smaller pieces blend more easily and thaw quicker. Large frozen berries can be a challenge to cut, so doing it now is ideal.
Prepare your strawberries according to your intended use. For example, if you're a smoothie enthusiast, slicing or quartering them now will make your blender's job much easier down the line.
Step 3: Flash Freeze for Individual Berries
This is where the magic happens and what distinguishes the best way to freeze strawberries. Flash freezing prevents the berries from clumping together, allowing you to easily grab just the amount you need without battling a solid block of ice. It also helps to minimize the formation of large ice crystals, which can damage cell walls and lead to mushy berries upon thawing. For more details on this technique, check out our guide on Flash Freeze Strawberries: Lock in Flavor, Avoid Icy Clumps.
Line one or more large baking sheets with parchment paper or a silicone baking mat. Arrange your hulled and prepared strawberries in a single layer on the lined sheet, ensuring that no berry is touching another. If berries touch, they will freeze together, defeating the purpose of flash freezing. If you have a large batch, use multiple baking sheets.
Place the baking sheet(s) into your freezer. Depending on the size of your berries and the efficiency of your freezer, this process typically takes two to four hours until they are solid. For larger batches or larger berries, it's often best to leave them overnight to ensure they are completely frozen through.
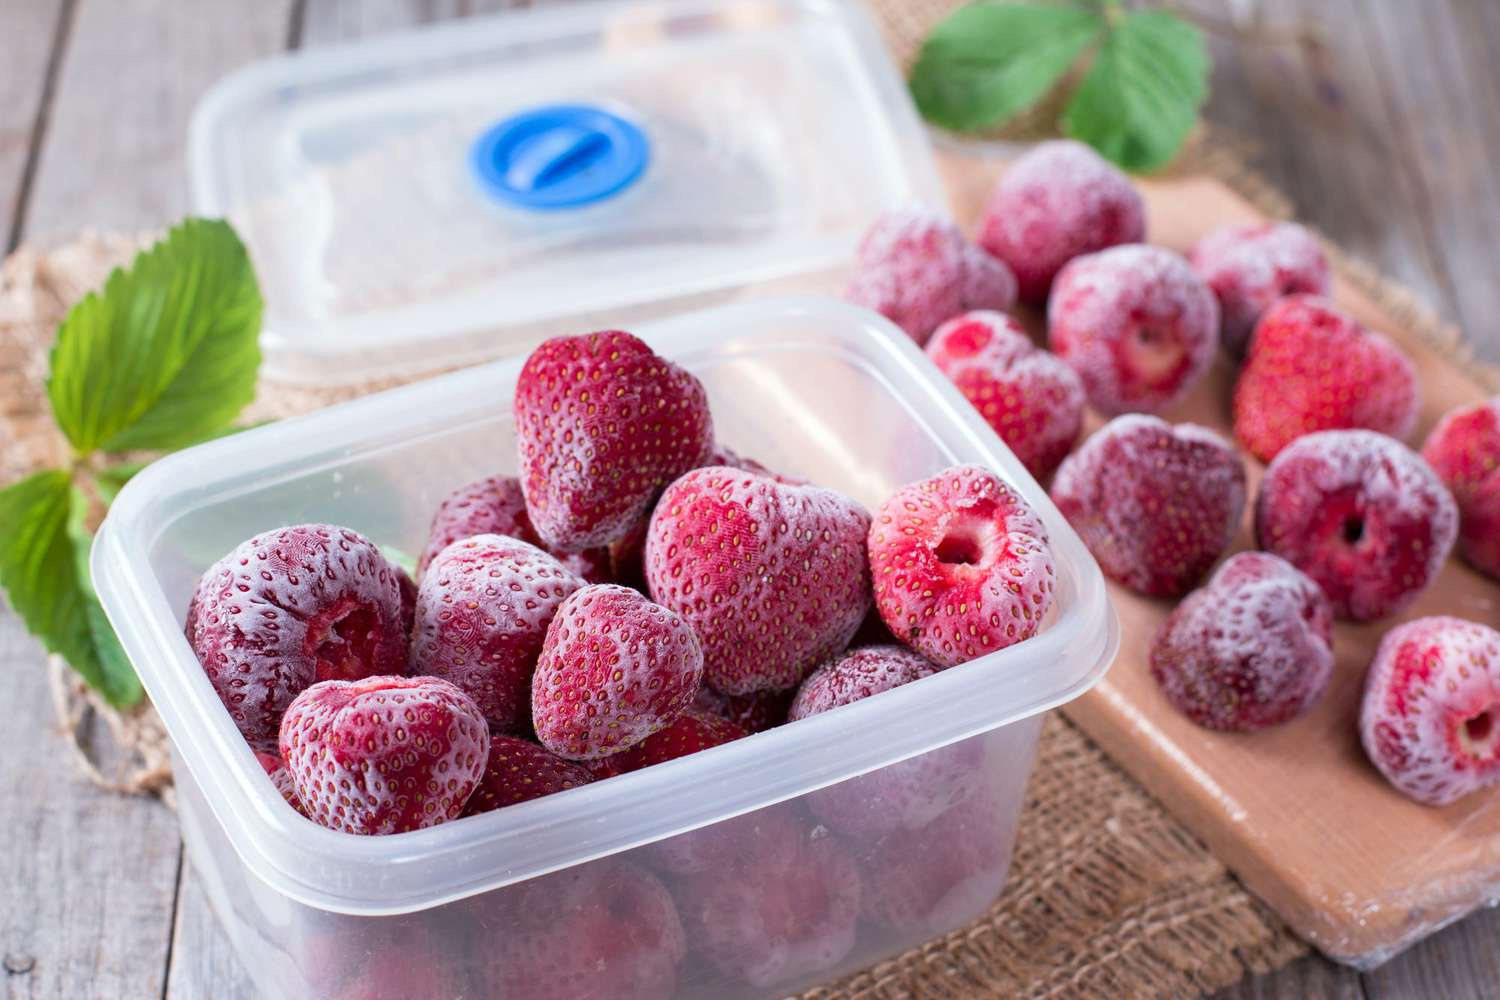
Step 4: Transfer to Long-Term Storage
Once your strawberries are completely frozen solid, it's time to transfer them to their long-term storage containers. Work quickly to prevent them from thawing. Gently lift the parchment paper from the baking sheet and slide the individually frozen berries into your chosen freezer-safe containers.
Zip-top freezer bags are a popular choice. Fill them, then press out as much air as possible before sealing. Air is the enemy of frozen food, as it contributes to freezer burn, which can dry out and discolor your berries. For the ultimate protection against freezer burn and extended freshness, consider using a vacuum sealer. This method removes virtually all air, keeping your strawberries tasting their best for longer.
Don't forget to use your permanent marker to clearly label each bag or container with the contents ("Frozen Strawberries") and the date you froze them. This helps you keep track of your inventory and ensures you use them within their optimal timeframe. Properly stored, frozen strawberries will maintain their quality for about six months, though they can often be safe to eat for up to a year. For more on maximizing storage time, see our guide on how to Preserve Your Berry Bounty: Freeze Strawberries for 6 Months.
Creative Ways to Use Your Frozen Strawberry Bounty
Now that you have a stash of perfectly frozen strawberries, the culinary possibilities are endless!
- Smoothies & Shakes: The most popular use! Frozen berries add a fantastic chill and thickness to any blend.
- Desserts: Use them in pies, tarts, crumbles, or cobblers. You can often add them directly from frozen.
- Sauces & Syrups: Simmer with a little sugar and lemon juice to create a vibrant strawberry sauce for pancakes, waffles, yogurt, or ice cream.
- Jams & Preserves: Frozen strawberries are perfect for making homemade jam any time of year.
- Baking: Fold into muffins, quick breads, or cakes. To prevent them from sinking to the bottom, toss frozen berries with a tablespoon of flour before adding them to the batter.
- Refreshing Drinks: Add a few to water or lemonade for a fruity twist, or blend into frozen margaritas or daiquiris.
When thawing, for best texture, transfer them to a bowl and let them thaw slowly in the refrigerator overnight. If you're using them in cooked dishes, you can often add them directly from frozen.
Conclusion
Freezing strawberries is a simple yet incredibly rewarding process that allows you to extend the enjoyment of these delightful berries far beyond their natural season. By following this step-by-step guide on how to freeze strawberries using the flash-freezing method, you'll be able to preserve their peak flavor, prevent clumping, and ensure you have a convenient supply of healthy, delicious fruit at your fingertips. Say goodbye to wasted berries and hello to year-round strawberry bliss!
